$0.00
1. Principles for Making a Rock Garden (Non Bo) at Home
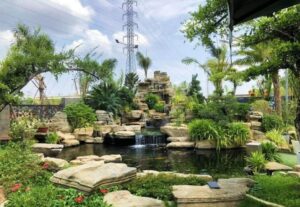
Choose the Right Location and Size
Place your rock garden in a well-ventilated area with natural light to enhance its appearance and support the healthy growth of plants and moss.
Depending on your available space, select a suitable size—from small to large—ensuring it feels balanced, not too cramped or too empty. At the same time, the design and shape should complement your home’s overall architectural style for a harmonious and visually pleasing look.
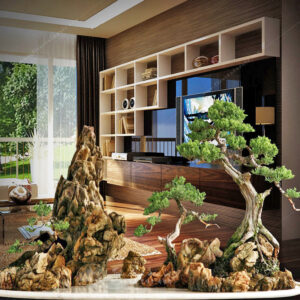
Choose the Right Placement for Your Rock Garden to Suit the Homeowner
Design a Feng Shui–Balanced Rock Garden (Non Bo)
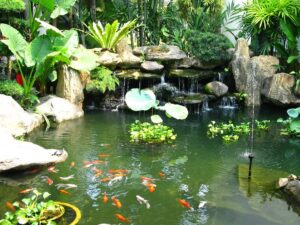
A feng shui rock garden is a harmonious combination of the five elements: Metal (stone), Wood (plants), Water (flowing water), Fire (light), and Earth (soil). When designing, it’s important to ensure these elements complement and support one another, creating overall balance and positive energy.
In addition, decorative details such as mountains, waterfalls, streams, bridges, boats, or statues should be carefully selected in terms of color and form. When arranged thoughtfully, these elements not only enhance visual appeal but also align with feng shui principles, helping to create a harmonious space and attract positive energy.
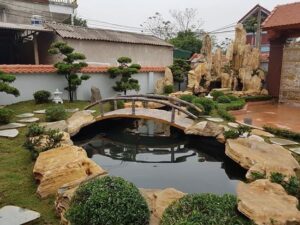
Design a Rock Garden (Non Bo) in Harmony with Feng Shui
Choose Suitable Materials for Your Rock Garden (Non Bo)
Selecting the right materials plays a crucial role in determining the durability, aesthetics, and overall cost of your rock garden. Depending on your needs, design style, and budget, you can flexibly choose or combine different materials to achieve the best results.
- Carved stone is the most popular choice thanks to its natural beauty and long-lasting durability. These stones are often pre-shaped into forms like mountains, caves, or waterfalls, making them easy to arrange and construct. With a wide variety of colors and textures, carved stone adds realism and depth, making your rock garden more vivid and visually appealing.
- Cement is a cost-effective and versatile option. You can freely create custom shapes by mixing cement with sand and water, or apply it over pre-made frames to form more complex details. This material is ideal for those who enjoy DIY projects and want to optimize costs while still maintaining a good level of aesthetics.
- Foam is commonly used as a base structure due to its lightweight and easy-to-shape nature. After forming the desired structure, you can coat it with cement to improve strength and create a more natural-looking surface. This combination not only reduces overall weight but also makes construction easier, especially for multi-layered or intricately designed rock gardens.
Choose Suitable Materials for Your Rock Garden (Non Bo)
👉To create a beautiful and durable rock garden, you should skillfully combine the materials above. A well-balanced mix will not only help save costs but also create a harmonious, natural look that fits perfectly with your living space.
2. Guide to Making a Simple Rock Garden (Non Bo) at Home
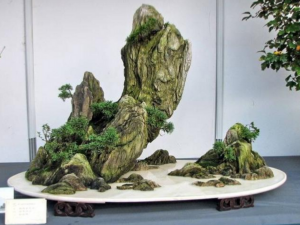
How to Build a Rock Garden Using Carved Stone
If you want a beautiful rock garden without requiring advanced skills, using pre-shaped carved stones is the quickest and easiest option. With just a bit of creativity in arranging, you can create a lively miniature landscape right at home.
- Step 1: Prepare the base
First, choose a tray or pot that fits your intended space. The base can be decorated with sand, gravel, pebbles, or soil to create a natural look and serve as a foundation for the entire arrangement. - Step 2: Select carved stones
Choose stones with shapes that match your design idea, such as mountains, caves, waterfalls, or streams. You don’t need too many pieces, but it’s best to pick stones with distinct forms to create focal points. - Step 3: Arrange the layout
Place the stones from large to small, and from high to low, to create depth and a natural flow. Try to visualize the overall layout like a “miniature landscape painting” to avoid a cluttered look. Also, ensure the size is balanced so the rock garden isn’t too tall or too wide for the surrounding space. - Step 4: Add decorative details
Once the stone structure is complete, you can add greenery, moss, small flowers, figurines, boats, or bridges to enhance the scene. These small elements bring the arrangement to life and make it feel more natural and inviting. - Step 5: Add a water feature (optional)
To make the rock garden more dynamic, you can install a small pump to create a stream or waterfall. Simply guide the water to the top and let it flow naturally through the stone crevices for a relaxing and visually pleasing effect.
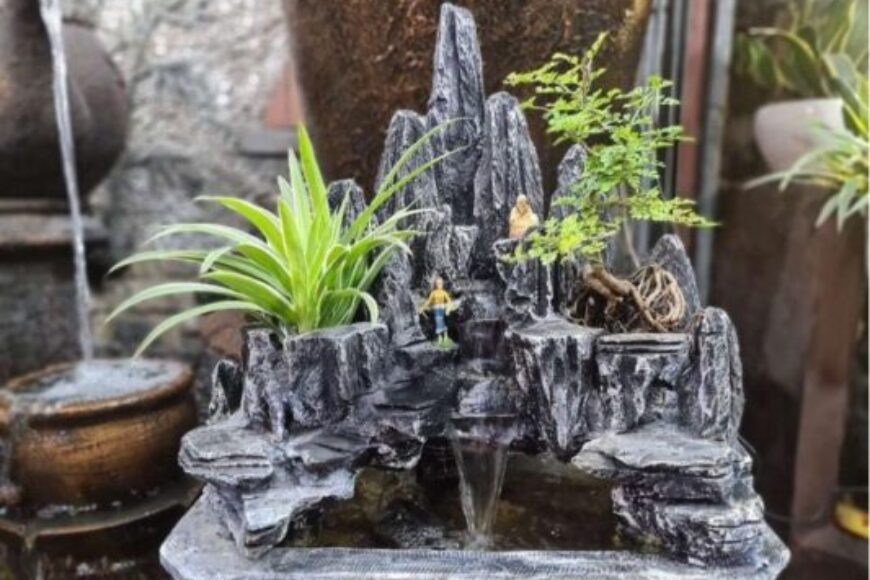
Steps to Build a Rock Garden Using Stone
How to Make a Rock Garden (Non Bo) Using Cement
If you want to create a personalized rock garden while keeping costs low, cement is a great option. This material allows you to freely shape your design—from simple to intricate—without being limited by pre-made forms.
- Step 1: Prepare the base
Choose a tray or pot that fits your space. Line the bottom with sand, gravel, pebbles, or soil to create a natural look and help stabilize the structure. - Step 2: Mix the cement
Combine cement with sand and water in an approximate ratio of 1:3:3 to create a workable mixture. Mix thoroughly and work quickly to prevent it from hardening too soon. - Step 3: Shape the structure
Use your hands or tools to mold and build the desired forms. You can create elements like mountains, caves, rock walls, waterfalls, or streams. This is the most important step, as it defines the overall look—aim for natural, uneven textures rather than overly smooth surfaces. - Step 4: Arrange the layout
Place the shaped pieces onto the base in a balanced composition. Keep proportions in mind and create a focal point. A common approach is arranging higher elements at the back and lower ones toward the front to add depth. - Step 5: Dry and finish
Allow the cement to fully dry for 24–48 hours. After that, you can paint it using natural tones like stone gray, earthy brown, or moss green to enhance realism. - Step 6: Add decorative details
Incorporate plants, moss, small statues, bridges, or boats to bring life and character to your rock garden. These details make the scene more vivid and visually engaging. - Step 7: Install a water feature (optional)
For a more relaxing effect, you can add a small water pump to create a flowing stream or waterfall. Simply guide water to the top and let it flow naturally through the cement crevices for a soothing and dynamic touch.
7 Steps to Create a Beautiful Cement Rock Garden (Non Bo)
3. Suggested Rock Garden (Non Bo) Designs You Can Make at Home
If you’re not sure where to start, exploring a few simple yet attractive rock garden ideas can help you visualize and choose a style that suits your space. Here are some popular, easy-to-make, and budget-friendly options:
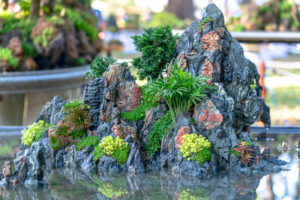
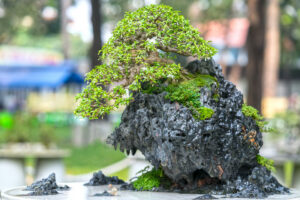
- Mini rock garden
This is an ideal choice for small spaces such as desks, balconies, or room corners. All you need is a small tray or pot, a few carved stones, some greenery, and optionally a mini water pump. You can arrange the stones into a small mountain, add a gentle flowing stream, and plant greenery at the base to create a relaxing, natural feel. - Spherical rock garden
This design is creative and artistic, inspired by the shape of a “mini planet.” Using a round pot or a foam sphere as the base, you can cover it with cement to form mountains, caves, or waterfalls. Once finished, paint it with natural tones representing oceans, land, or forests. This style works perfectly as a unique focal point in your living space. - Hanging rock garden
If you have limited space, this is a smart and eye-catching option. Using a hanging basket or frame, you can build the structure on a foam base coated with cement. After shaping and painting, simply hang it on a wall or balcony to create a floating miniature landscape that is both space-saving and visually striking.